原始项目托管在:https://sourceforge.net/p/ngspice/ngspice/ci/master/tree/
git clone git://git.code.sf.net/p/ngspice/ngspice ngspice-ngspice本实验室项目托管在服务器上
$ git clone "ssh://git@srv:port/~/srv/morespice.git"
1. 编译
全局编译
./autogen.sh
  cd release/
  ./reconfigure
  make -j8
1.1 新建编译
mkdir src/zhy
  touch sobar.h sobar.c # 创建需要的源文件
然后创建一个Makefile.am:
noinst_LTLIBRARIES = libsobar.la

libsobar_la_SOURCES = \
                    sobar.c

AM_CPPFLAGS = @AM_CPPFLAGS@ -I$(top_srcdir)/src/include -I$(top_srcdir)/src/rcr
AM_CFLAGS = $(STATIC)

MAINTAINERCLEANFILES = Makefile.in
- 去外层的
src/的Makefile.am在SUBDIRS =后添加上zhy等需要的子文件夹; - 继续在这个文件的某个地方增加一行
ngspice_LDADD += zhy/libsobar.la,把zhy这个文件夹中的库编译进来; - 去根目录的
configure.ac找到AC_CONFIG_FILES,在其中加上src/zhy/Makefile,确保能生成Makefile.in文件; - 重新跑一次编译。
1.2 新建联合编译
如果是使用c++写的,则内容上还需要另行修改:
noinst_LTLIBRARIES = libsobar.la

libsobar_la_SOURCES = \
                    sobar.cpp

# libsobar_la_LDFLAGS = -larmadillo

AM_CPPFLAGS = @AM_CPPFLAGS@ -I$(top_srcdir)/src/include
AM_CXXFLAGS = -std=c++11 -fpermissive -larmadillo
AM_CFLAGS = $(STATIC)

MAINTAINERCLEANFILES = Makefile.in
主要是需要加上CXXFLAGS,另外需要注意,所有cpp中的函数定义必须用 extern "C"包裹,否则函数被改名后编译器会报符号错误。
2. 开发
.h 里面尽量不要include其他文件。
2.1 总函数入口
src/frontend/inp.c inp_source()抓取 ft_curckt
2.2 数据结构
- 节点链表:
ft_curckt->ci_ckt->CKTnodes,使用next遍历。 - 器件列表比较复杂,以电容为例:
ccode = CKTtypelook("Capacitor");

  for (CAPmodel* model = (CAPmodel*)ft_curckt->ci_ckt->CKThead[ccode]; model;
             model = CAPnextModel(model)){
             // 这里首先需要用CKThead[ccode]找出一个全局的编码

// CKThead是一个GENmodel类型的指针,要强制转换成CAPModel,有一种C强行实现继承的味道
             ...
             }
- 电流源的分类在
isrcload.c中,参考一下。 - 在cp_evloop中,control这个wordlist存储了控制命令。
2.3 仿真入口
-
main.c:115:定义了一个
IFsimulator *ft_sim,这是一个包含了大量空壳函数指针的结构体,也就是一个仿真器的原型,在正常默认编译中它被SIMinfo初始化。 -
ngspice.c:29:SIMinfo在此处定义,
CKTdoJob就是仿真函数。 -
cktdojob.c:28:其第一部分将task中的参数搬运到ckt中,第二部分从217:for开始,作者指出,
/* Analysis order is important */,这个循环本质上是将job按照analInfo这个数组的顺序做事,这个数组在analysis.c中定义,例如前五个仿真按顺序是:SPICEanalysis *analInfo[] = { &OPTinfo, &ACinfo, &DCTinfo, &DCOinfo, &TRANinfo, ...那么它的意思就是必须先做完DCO(Peration)仿真,才会去做TRAN(sient)仿真。接下来在:222做一次an_init,在:238做一次an_func,以tran为例,首先初始化会进
traninit.c,在这里会得到tran仿真最重要的一系列时间参数。
3. 数学
假设电感矩阵H可逆,才有:
然而需要注意到,对于一般的,由于电压源的存在,H矩阵是奇异的。

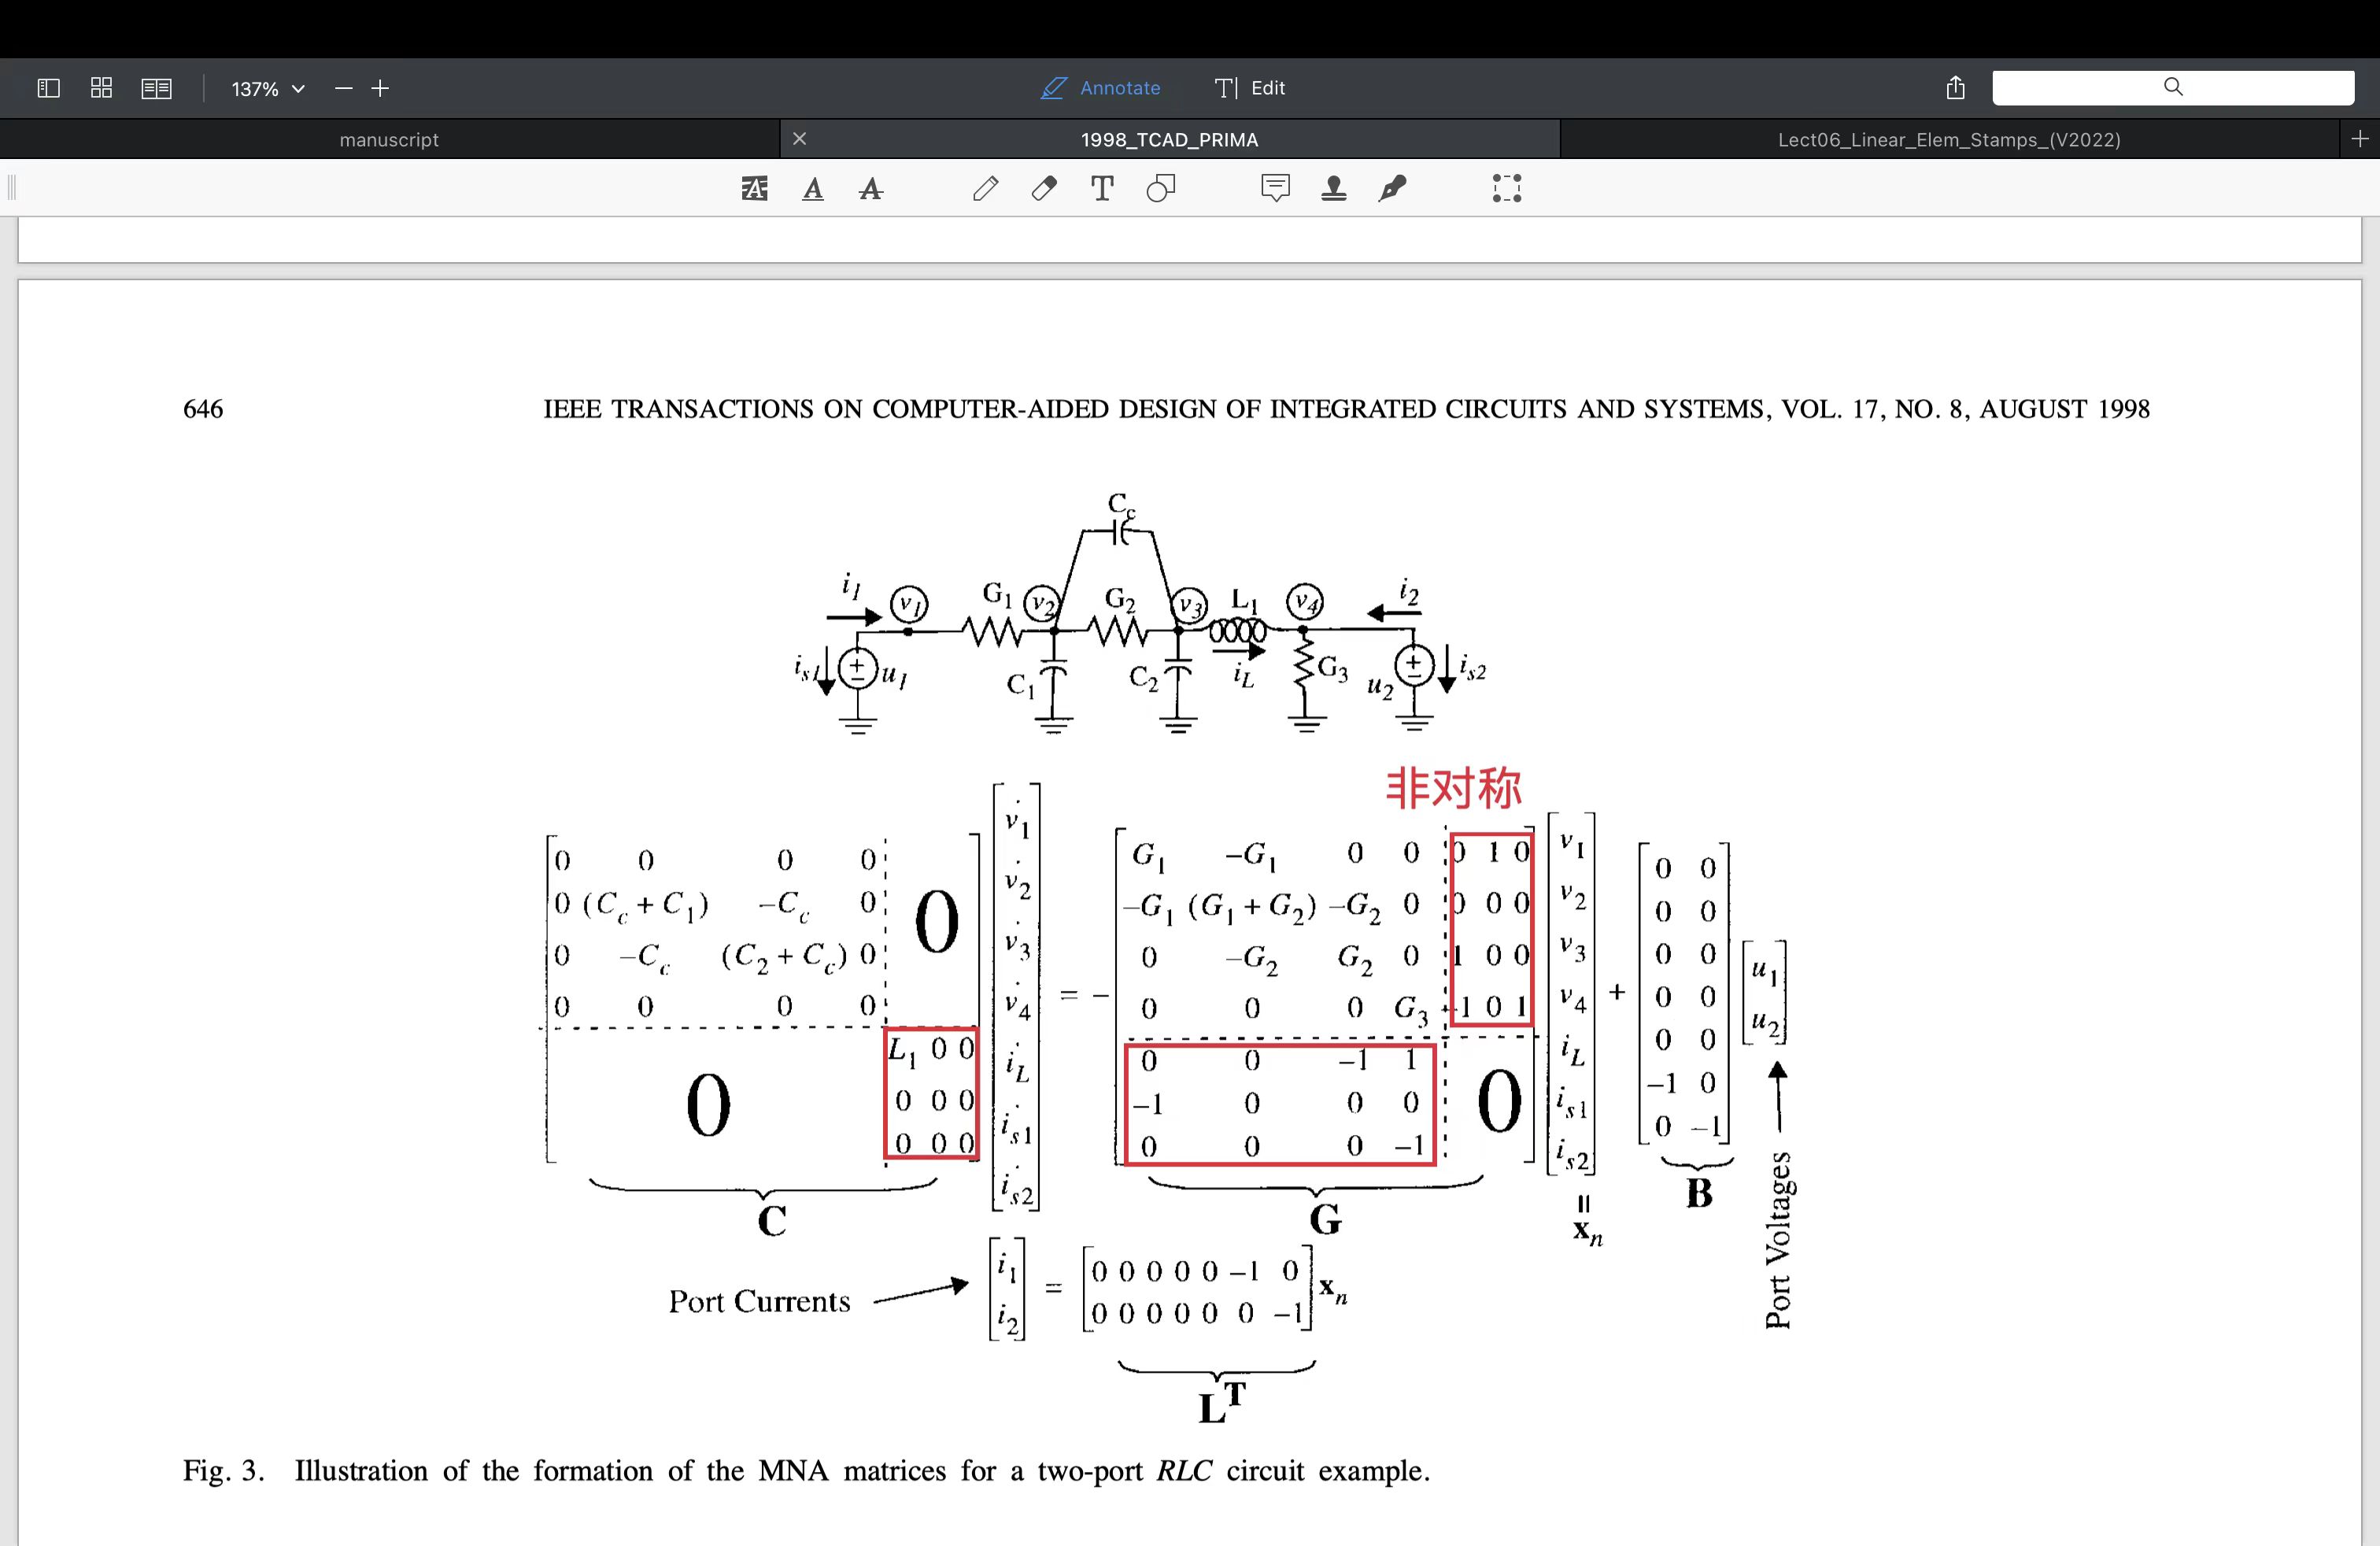
因此提出一个想法,即调换MNA的构成方式,将电感电流放在最后一行,如
这里还要检查一个部分,就是B最后那里是个0,这是否意味着还是没法插入一些电流相关的量?
其他
- pinv的作用是什么?
- pinv算起来很慢,有没有办法优化?
4. 部署
在windows上部署使用的是msys2的mingw64工具,为了正常打包(ldd)链接,需要安装的库有:
$ pacman -S mingw-w64-x86_64-qt5
$ pacman -S mingw-w64-x86_64-qt5-tools
# 如果缺少libGLESv2.dll的话
$ pacman -S mingw-w64-x86_64-angleproject
具体部署步骤如下:
$ cd ./deploy
$ ./deploy_for_win.sh
$ cd ../ui_src
# 如果没有make的话
# qmake application.pro && make && qmake waveview.pro && make
$ cd ./deploy
$ ./deploy_for_win.sh
5. 命令速查
# 发送wsl当前工作区存档到win桌面
$ git archive -o workspace.zip HEAD && mv workspace.zip /mnt/c/Users/zhy/Desktop/
# 打包setup
$ "C:\Program Files (x86)\Inno Setup 6\ISCC.exe" ./deploy.iss
6. 文档
- HSPICE User Guide: Simulation and Analysis
- 复旦大学 - HSPICE 简明教程
- NGSPICE User Manual(pdf)
- NGSPICE User Manual(html)
- API Documentation for Armadillo
./ngspice -h
Usage: ngspice [OPTION]... [FILE]...
Simulate the electical circuits in FILE.
-a --autorun run the loaded netlist
-b, --batch process FILE in batch mode
-c, --circuitfile=FILE set the circuitfile
-D, --define=variable[=value] define variable to true/[value]
-i, --interactive run in interactive mode
-n, --no-spiceinit don't load the local or user's config file
-o, --output=FILE set the outputfile
-p, --pipe run in I/O pipe mode
-q, --completion activate command completion
-r, --rawfile=FILE set the rawfile output
--soa-log=FILE set the outputfile for SOA warnings
-s, --server run spice as a server process
-x, --mor=rcr set the mor method as rcr
--mor=rga set the mor method as rga
-m, --rga_moment=INT set the rga moment to be matched
-t, --term=TERM set the terminal type
-h, --help display this help and exit
-v, --version output version information and exit
